How To Post Number Shown (Printed) On RFID Badge
What do you do when you want to use an existing RFID-NFC badge for a new solution?
This post shows you how the ID shown (printed) on an RFID badge can be posted. Having your idChamp® brand NF4 RFID-NFC reader post the correct value is easy using the Serial Device Manager (SDM). You simply scan the RFID badge, enter the value printed on the badge, and the PAC Wizard does the setup.
Apps Using the Serial Device Manager (SDM)
Apps SerialMagic Keys, iScanBrowser, Cloud-In-Hand® Stratus-io Time and Attendance, Mobile Grid and 3rd party apps using SDM all provide PAC Wizard. In this example you’ll see the PAC Wizard setup to post the value printed on the card.
PAC Wizard Setup To Post RFID-NFC Value Printed On Badge or Keyfob
First, you open the app with the SDM, and make a wireless connection to the idChamp® brand NF4 RFID-NFC reader writer.
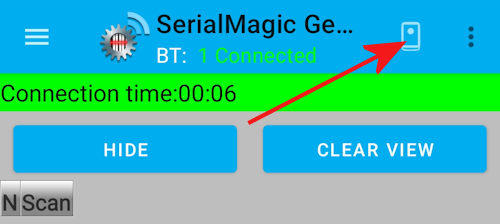
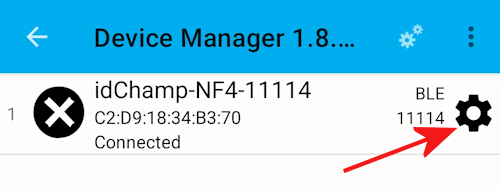
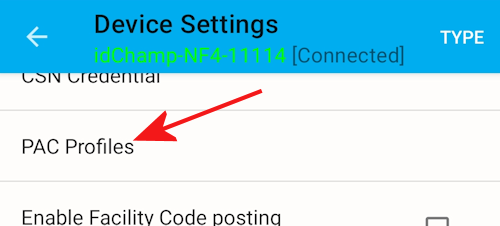
Next, navigate open SDM > Device > Settings (gear-icon) > PAC Profiles > PAC WIZARD.
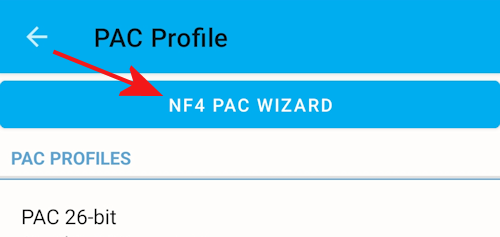
When the NF4 PAC Wizard Settings dialog opens, you should see the following (or something similar)
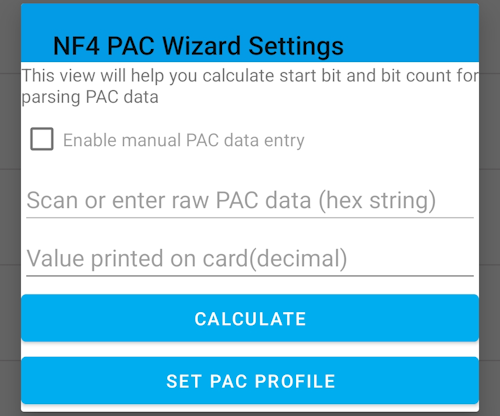
PAC Wizard Settings Applied To PAC Profiles List
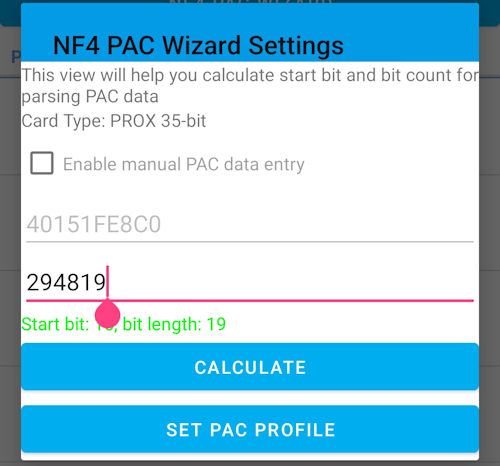
Now, With the PAC Wizard dialog shown, you scan the RFID badge. You should see a badge value shown in the PAC Wizard dialog.
Second, enter the value printed on the badge that you want posted to the application when the RFID badge is read.
Third, tap CALCULATE and you should see the start and length values shown.
Finally, use SET PAC PROFILE to apply the settings to the appropriate PAC Profile for your badge type.
You see in the example dialog below the 35 bit PROX badge settings have been applied to the PAC Profiles List.
You can verify the settings in the PAC Profiles List view as shown below.

Now the value printed on the RFID badge will be posted by the application.
