The latest releases of SerialMagic Gears, Mobile Grid for Android, and Mobile Attendance for Android now include a new filtering system that allows you to create filtering rules for RFID/NFC tags in the vicinity. The article demonstrates how to use this new filtering system.
Access the Filtering System Settings
1. Launch SerialMagic Gears, Mobile Grid, or Mobile Attendance.
2. tap on the “Options” button to reveal the sidebar menu.

3. Tap on “Scan Filter Settings.”
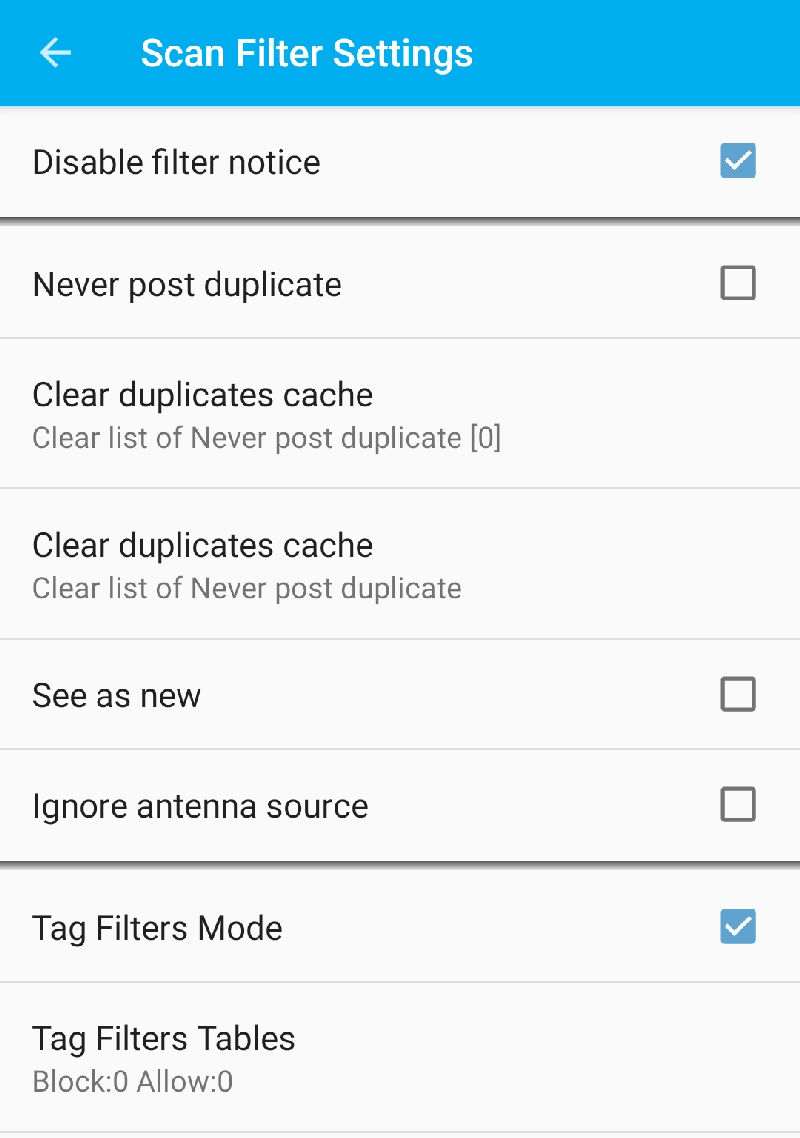
4. The Scan Filter Settings page includes options to:
- Enable/Disable Filter Notices
- Filter Duplicates by Timer
- Enable/Disable Tag Filter Mode
- Edit the Tag Filters Table
Enable & Create Filters
Enable Tag filters
Before you create any filter rules, you must first enable Tag Filtering and select your preferred mode.
To do this, tap on “Tag Filters Mode” to enable scan filtering.
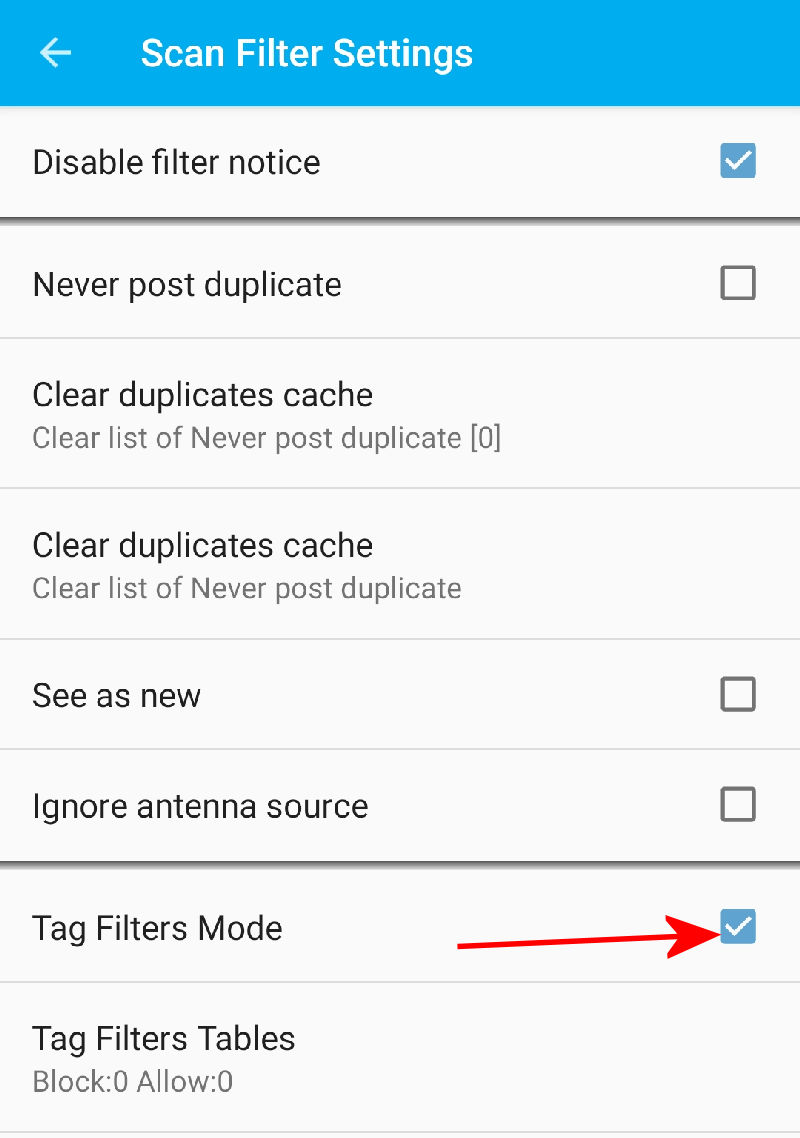
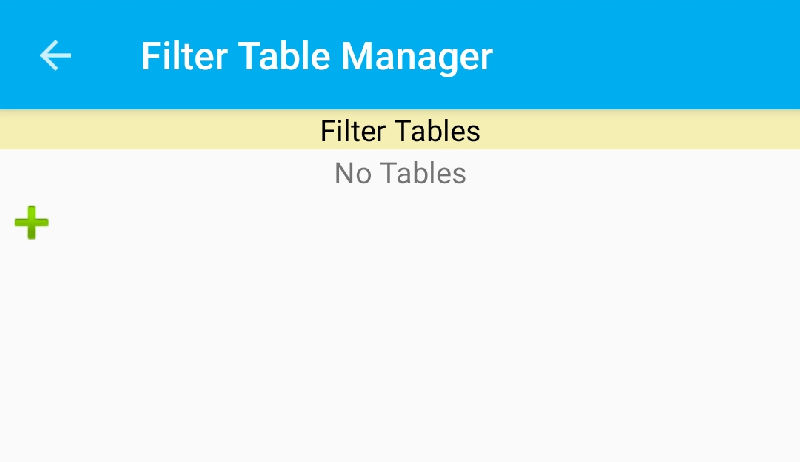
Then tap “Tag Filter Tables” and the Filter Table Manager will display.
Add Tag Filters
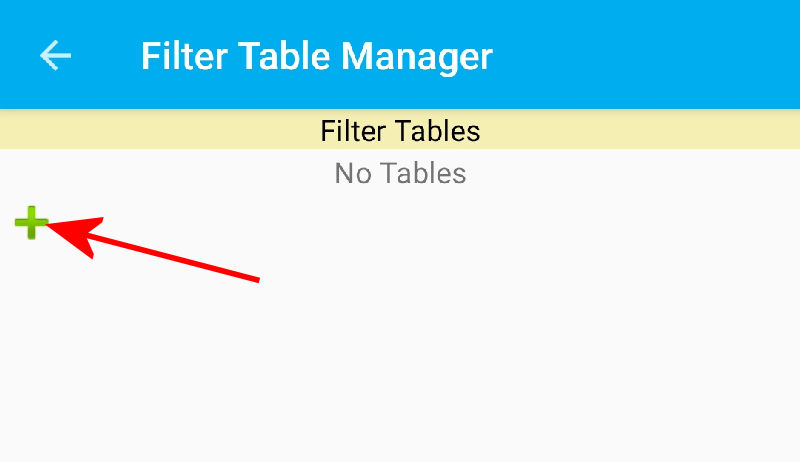
Add filtering rules by tapping the “+” icon on the Filter Table Manager.
1. Tap “+” icon.
2. Enter the name of the scan filter.
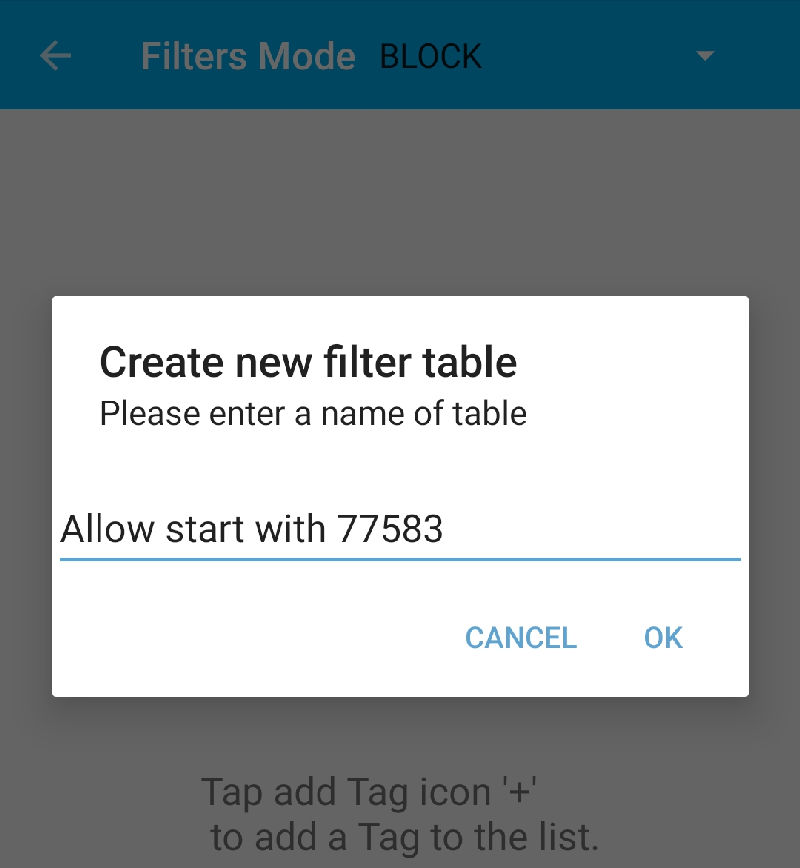
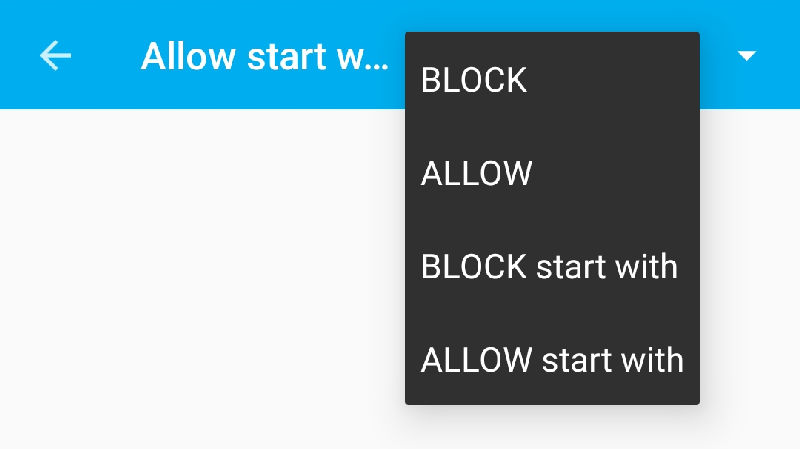
3. Select the mode for the filter by tapping on the drop-down menu at the top of the screen: ALLOW, BLOCK, ALLOW Starts with, BLOCK starts with
 >
>
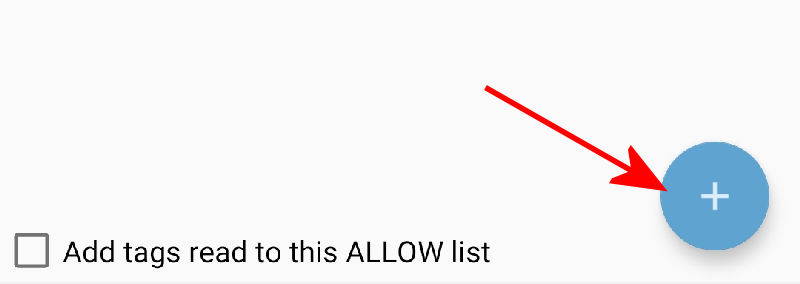
4. To add a new tag to the list, tap on the “+” icon button at the bottom of the screen.
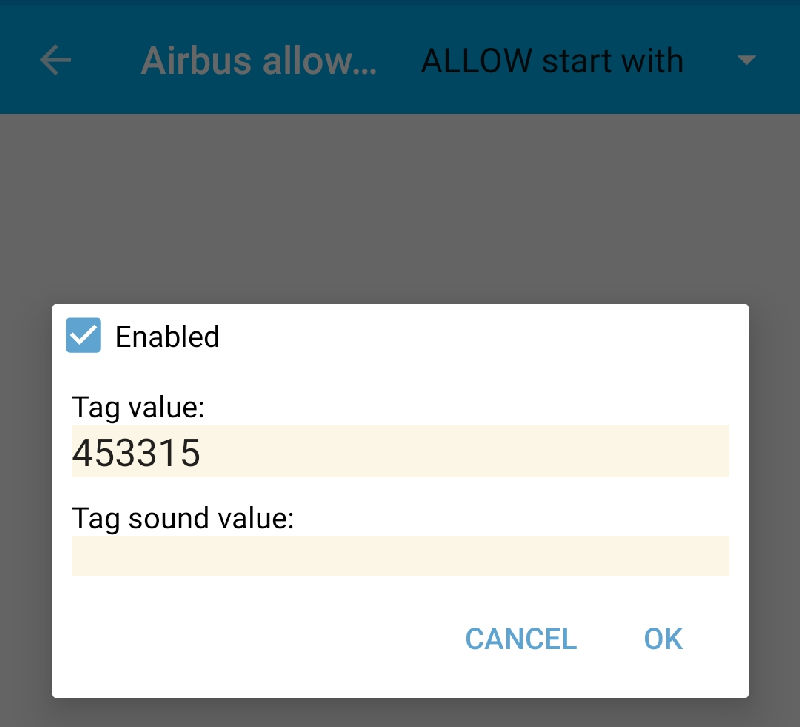
5. Enter the scan Tag value(s) for the filter.
In this example filter is set with Allow start with 453315 so any tag starting with this value will be posted, all other tags will be blocked.
Tip: Because entering values manually can be tedious, you can scan RFID-NFC-Barcode tags into the filter by enabling “Add tags read to this ALLOW list”“
Filter Duplicate Scans
The Scan Filter Settings page also provides an option to filter duplicate scan data. You can configure the SDM to never post duplicates, always post duplicates (“See as new“) or to see scans as new after a set period of time. To post duplicate data as new ONLY after a set period of time, tap on “See as new after” and type the desired timein seconds.
