Mobile Workflow Solutions
Serialio will help your business run better--no matter where the job takes you.
Cloud and native mobile software | Scanners built for iOS & Android
Seamless data capture | Workflow automation | Instant analytics.
Check out our YouTube Channel to learn more!
Our idChamp® and Scanfob® brand scanners provide fast and accurate RFID and barcode scanning for iOS, Android, and Windows.
The Cloud-in-Hand® Mobile Cloud Solution Framework is fast, secure, and cost-effective. Built for the mobile space to provide innovative workforce solutions.
Our Solutions Experts are ready to help. Click the link below to schedule a call.
Over 25,000 workforce
and asset solutions delivered globally.

We are a solution partner so whether it's one scanner or a complete RFID tracking and access
solution, we are here to help guide you.

Cloud-In-Hand® Mobile Solutions
Tailored Mobile Solutions to Improve Your Business Workflow


Workforce and HR Solutions
Using RFID to Manage the Workforce at Meetings, Trainings, and more

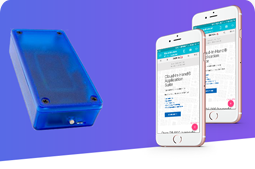
iScanBrowser - Unleash Your Web App
Powerful Tools for Your Mobile Web Application


About RFID
Learn How RFID Can Benefit Your Business

Hardware Built for the Mobile Workforce

From RFID scanners to wireless RS-232 adapters. Shop all products or select from the following popular products. For assistance, call (512) 856-4707.
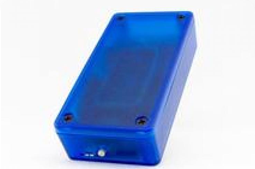
idChamp® NF4x Wireless Smart Card Reader
iClass, Prox, NFC reader for Android & iOS
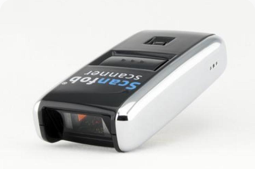
Scanfob® 2006
Scanfob® 2006 Bluetooth Barcode Scanner
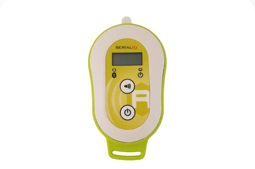
Scanfob® qID
qID Mini UHF RFID Reader/Writer

idChamp® RS4x Smart Credential Reader
idChamp® RS4x Wireless RFID Smart Credential Reader
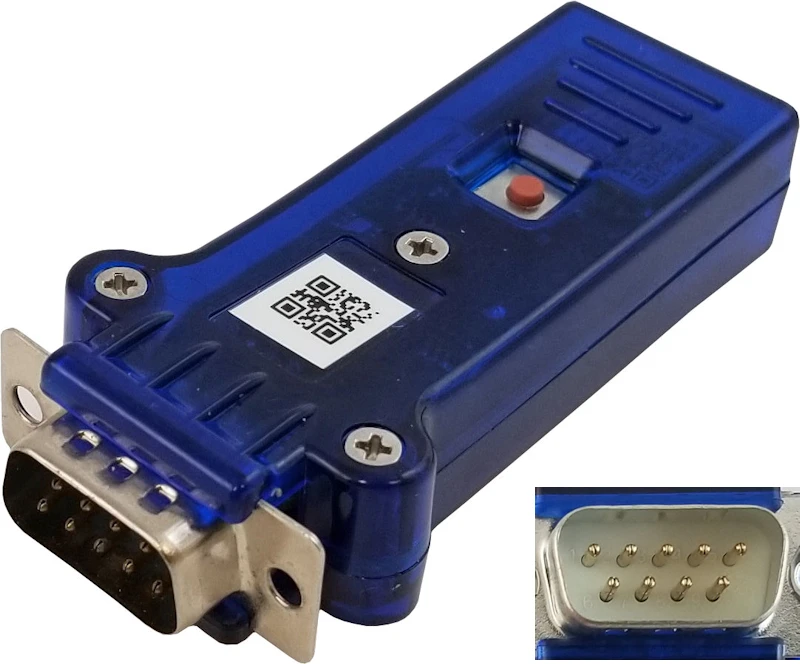
BlueSnap M6A Wireless Adapter
BlueSnap DB9-M6A Wireless RS-232 Adapter iOS, Android, MacOS, Win10+
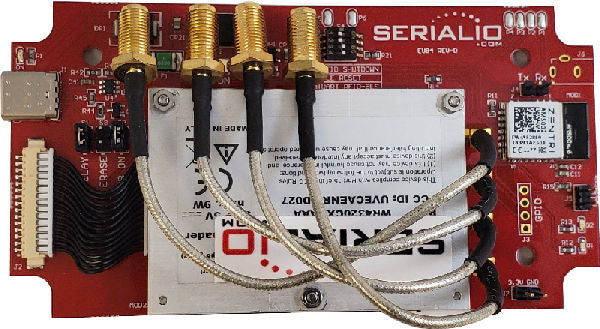
idChamp® EUB4
idChamp® EUB4 4-Port Embedded UHF Reader-Writer
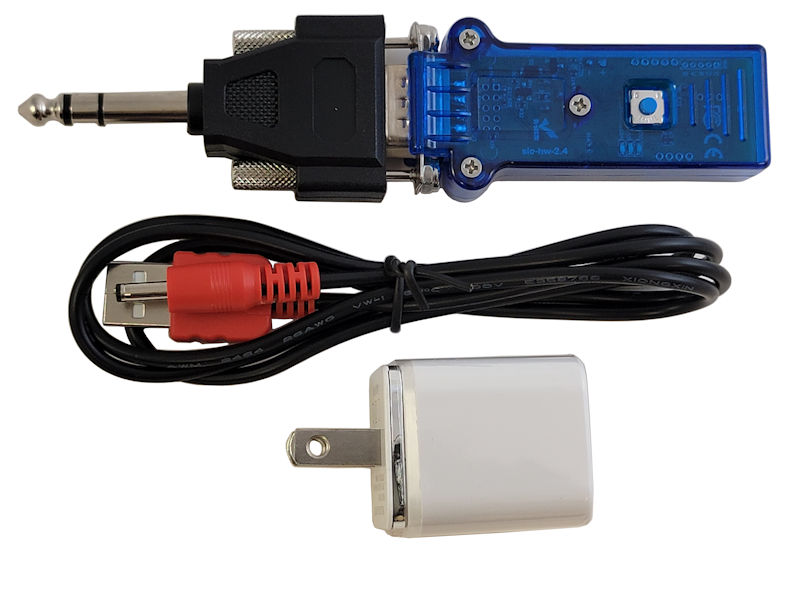
BlueSnap M6A Smartphone DEX Kit
Best DEX Option For iPhone, iPad, Android Smartphones, Tablets
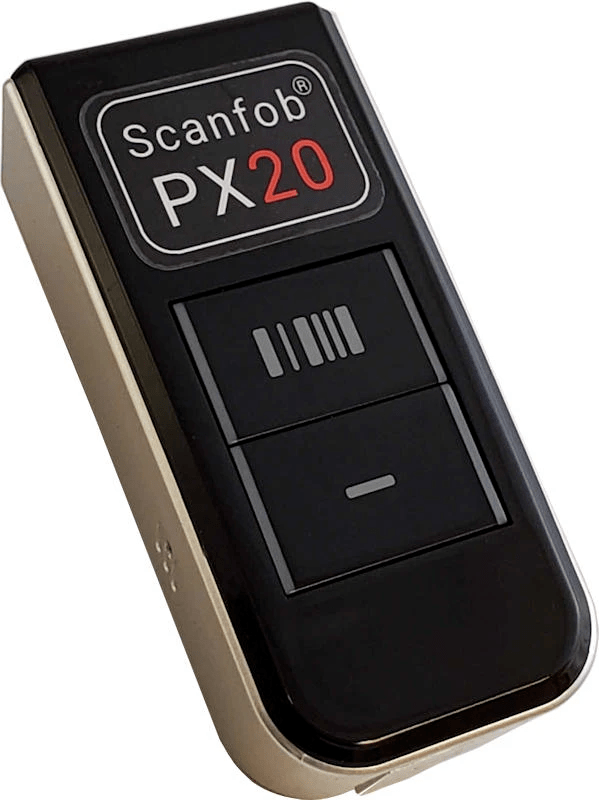
Scanfob® PX20 Fast Wireless Barcode
Scanfob® PX20 Fast Wireless Barcode Scanner 2D+1D iOS, Android, Windows+
Solutions for:

For expert assistance, call (512) 856-4707.
Our Brands

Serialio is the home of these great in-house innovations for barcode, RFID, and mobile applications.
Scanfob® Scanners
The smallest and lightest scanners available. Fast, mobile, and easy-to-use!
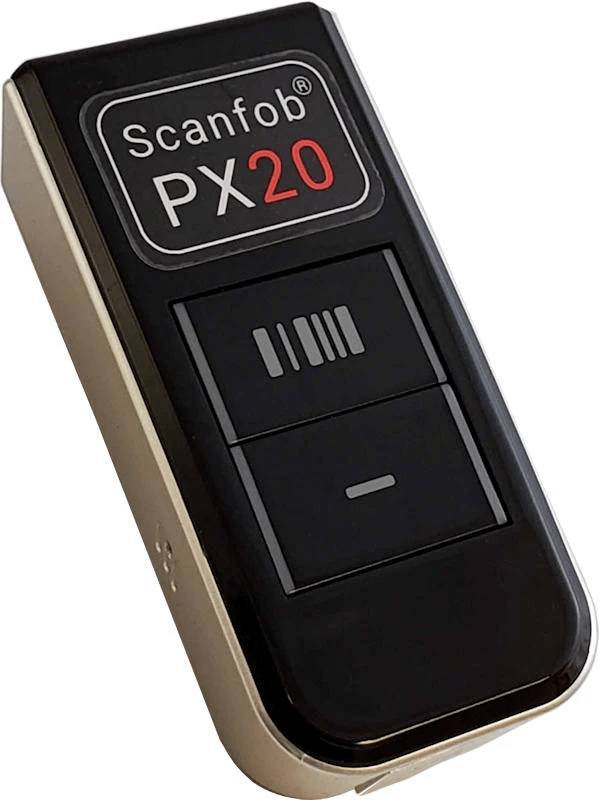
Scanfob® PX20
Scanfob® PX20 Fast Wireless Barcode Scanner 2D+1D iOS, Android, Windows+
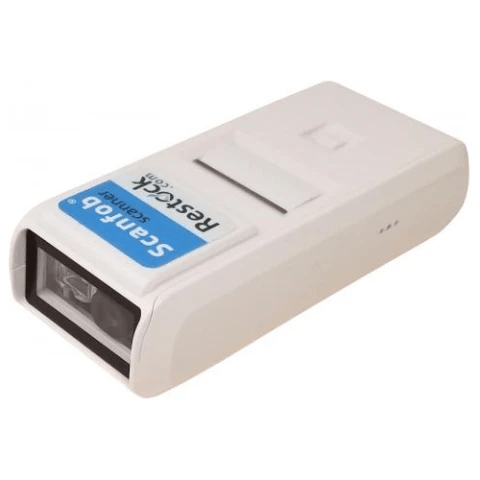
Scanfob® 4000
Scanfob® 4000 Bluetooth Barcode CCD Scanner
Since 1992, Serialio has been delivering RFID/NFC and Barcode tracking and scanning solutions to companies large and small.


We have the solutions
for your mobile wireless challenges. Talk to our experts today!
Testimonials

Cloud-In-Hand Mobile Grid on iPad & iPhone is an unmatched data collection solution. Form-A-Feed uses this solution successfully for years. Serialio support has been unmatched by any supplier. The Support Team is super responsive, and the Cloud-In-Hand Mobile Grid solution always works. Mobile Grid is so reliable, when our Microsoft based solution fails, Serialio is… Read more “Unmatched Data Collection Solution – Cloud-In-Hand Mobile Grid”
The Toshiba Team spent months searching for the best electronic emergency headcount software for our large facilities. Toshiba needed emergency mustering Roll Call ensuring employees, visitors, and contractors are all safe and accounted for during an Emergency. Serialio was one of many companies we reached out to, and we’re so thankful we did! The Cloud-In-Hand… Read more “Emergency Headcount Software 1-Million-Square-Foot”
Our search for mobile order for sales reps and trade shows solution ended when we found Cloud-In-Hand® Mobile Order. Mobile Order is a terrific application replacing our last ordering solution. We deployed to our outside sales staff and use it for our trade shows on iPads & iPhones. We were up and running in record… Read more “Mobile Order For Sales Reps and Trade Shows”
In 2019, we needed a reliable and cost-effective method of enabling RFID scans on a tablet for a custom RFID time clock application on Windows Surface Pro we developed. We were fortunate enough to find SerialMagic Professional and the idChamp® RFID Smart Card Badge Reader. Serialio assisted us with the software and hardware needed to… Read more “Enable RFID Scans On Windows Surface Pro For Time Clock Application”
University of Wyoming Vending Services has used the BlueSnap M6A Dex for vending machine service for vending machine DEX service for over two years. VendSys initially recommended we purchase the BlueSnap DEX Kit and we’re very happy we did. UW Vending has full-time, employees managing students who are route drivers. I can confidently say that… Read more “Vending Machine DEX Service With iPhone-Android-BlueSnap”
We take orders with iScanBrowser iOS with the PX20 wireless mobile 2D+1D barcode scanner. Our users quickly and reliably make orders are in our showroom with iScanBrowser on iPad Air devices. We like the speed and stability of the PX20 iScanBrowser in building orders fast and accurate. We have worked with Serialio.com for many years… Read more “iScanBrowser iOS Super-Fast & Reliable Order Taking”
With the ability to import laser measurements into any iOS app, SerialMagic Keys iOS has increased my workflow speed and accuracy tremendously. Thank you serialio.com for making SerialMagic Keys work with BOSCH Laser Measure on iOS. SerialMagic Keys iOS has powerful features like unit conversions and formatting that posts the readings exactly as we want… Read more “BOSCH Laser Measure on iOS”
I just wanted to reach out and thank you. From the minute we completed the form for Serialio Software Developer program (SDP), you and your support team jumped right in. Your engineers were extremely responsive and were able to resolve our technical blocker (that had us stuck for many weeks) very quickly (in two days)… Read more “Software Developer Program (SDP) Got Us Results Quickly”
A remote Canadian mining site utilizes stratus-io, a part of the Cloud-In-Hand® Solution Framework, to track who is on-site at their facilities. Deployed in multiple locations, stratus-io is used in conjunction with our idChamp® NF4 Wireless Smart Card reader to read employee badges as they enter the facility. Check-ins are monitored by a guard stationed at… Read more “Cloud-In-Hand® Mobile Attendance For Mining Company”
We used RFID wristbands and Scanfob® brand RFID Readers from Serialio that synced with our membership POS software. This allowed BearX memberships exclusive perks. They were able to charge to their membership account which tied to their credit card on file. We also used Bluetooth custom branded RFID scanners from Serialio that scanned information into… Read more “Serialio Provides RFID Solution for Membership POS at BearX Aquatic Venue”
